Pi-Lite 3x5 Single Page GUI
Forums:
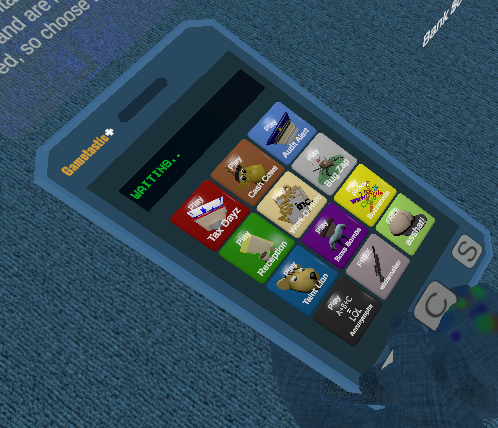
I am creating this as a simple to follow, step by step to get a standard single (or multi) web page server up on a pi zero with a 3.5 inch touch display.
It will use the web page as your GUI menu on the pi.
The pi is installed with Raspian Lite (with no gui interface).
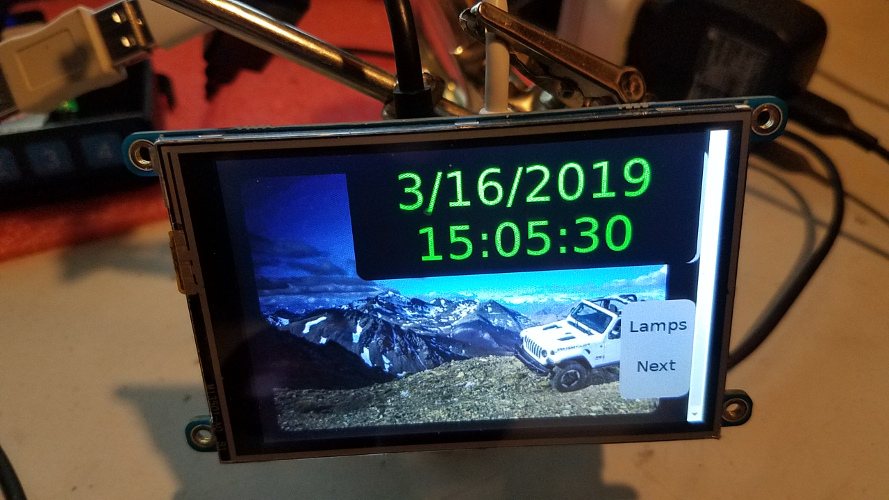
I will be changing it as I go, especially the web interface which is now using my piACC html code. For simple image display you could use something like fbi which is an image display/slideshow app that can be used with the pi.
I wanted more features, such as manipulating the GPI pins so I opted to use something a little more flexible. This also allows much greater control of the output since you can use CSS and javascript to customize how it looks and functions.
Config Openbox
sudo nano /etc/xdg/openbox/autostart
Replace text with:
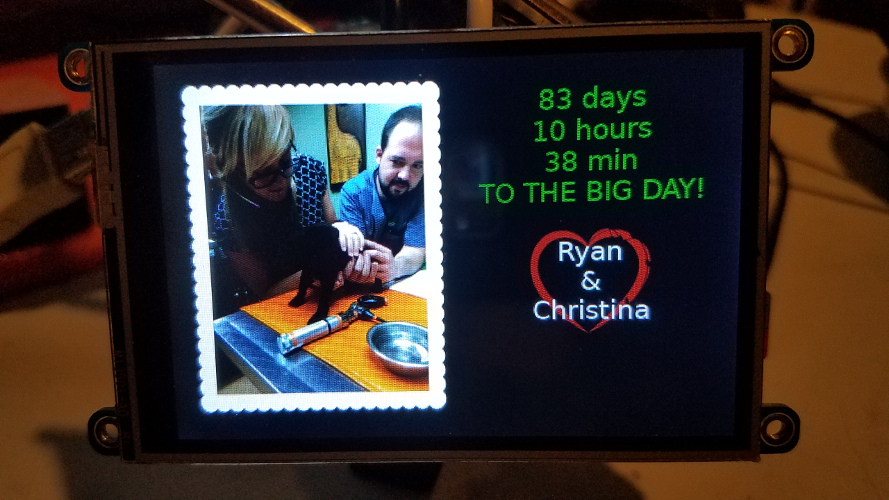 So what I decided was that I would make it into a picture display for my daughter's shower.
I will attach a pi camera and at random intervals it will fire off a snapshot.
Since my camera broke I will need to pick up a new one.
What I find comical is that the pi itself only costs $5 US.
However, the camera is $25, the display is $45, the power 3A supply is $5-$10 and the micro SD is probably around $10..
All in all, it would make the price close to $90.00 US. That is a lot for a 3.5 picture frame that also takes pictures too.
I will set up an ftp upload server where I can send the pics as it takes them. This means I will have to enable a wifi hotspot on my phone.
I believe leaving them on the pi may use up too much space.
Though I could actually take pictures with my phone, I am hoping that the stealth shots may be interesting (or bad haha).
This also means that I will require an AC receptacle.
So what I decided was that I would make it into a picture display for my daughter's shower.
I will attach a pi camera and at random intervals it will fire off a snapshot.
Since my camera broke I will need to pick up a new one.
What I find comical is that the pi itself only costs $5 US.
However, the camera is $25, the display is $45, the power 3A supply is $5-$10 and the micro SD is probably around $10..
All in all, it would make the price close to $90.00 US. That is a lot for a 3.5 picture frame that also takes pictures too.
I will set up an ftp upload server where I can send the pics as it takes them. This means I will have to enable a wifi hotspot on my phone.
I believe leaving them on the pi may use up too much space.
Though I could actually take pictures with my phone, I am hoping that the stealth shots may be interesting (or bad haha).
This also means that I will require an AC receptacle.
Initial Steps
First - Perform all the necessary steps for base lite version. password,(raspi-config),update,upgrades and adafruit 3x5 TFTP install instructions. Resource for Boot to Chromium: https://die-antwort.eu/techblog/2017-12-setup-raspberry-pi-for-kiosk-mode/Install Openbox
sudo apt-get install --no-install-recommends xserver-xorg x11-xserver-utils xinit openboxInstall the fbturbo drivers for pi..
This one had me stumped but fixed the OpenBox X11 erros. To get passed the continuing load error on boot, I had to install the drivers and then change the device to 1. sudo apt-get update && sudo apt-get install xserver-xorg-video-fbturbo Change the default fbdev to 1 sudo nano /usr/share/X11/xorg.conf.d/99-fbturbo.conf You need to change the fbdev to fb1 instead of fb0 Should look like this:
Section "Device"
Identifier "Allwinner A10/A13 FBDEV"
Driver "fbturbo"
Option "fbdev" "/dev/fb1" Option "SwapbuffersWait" "true" EndSection
ctrlX to save, y to replace.
Install Chromium
sudo apt-get install --no-install-recommends chromium-browser
Unzip Relay.zip into the relay directory.
nano /home/pi/bin/relay/relayweb/relay_web_interface.py
Add static graphics path if not there for images:
app = Flask(__name__,static_url_path='/static')
Add specific port and allow on 0.0.0.0 or don't if you do not want to be able to access from another machine.
app.run(host='0.0.0.0',port=5001)
Make the python script executable.
chmod 755 /home/pi/bin/relay/relayweb/relay_web_interface.py
I have added a no-cache statement to the head in the templates.
This should keep the pictures fresh if they are changed.
Option "fbdev" "/dev/fb1" Option "SwapbuffersWait" "true" EndSection
# Disable any form of screen saver / screen blanking / power management
xset s off
xset s noblank
xset -dpms
# Allow quitting the X server with CTRL-ATL-Backspace
setxkbmap -option terminate:ctrl_alt_bksp
# Start Chromium in kiosk mode
sed -i 's/"exited_cleanly":false/"exited_cleanly":true/' ~/.config/chromium/'Local State'
sed -i 's/"exited_cleanly":false/"exited_cleanly":true/; s/"exit_type":"[^"]\+"/"exit_type":"Normal"/' ~/.config/chromium/Default/Preferences
chromium-browser --disable-infobars --kiosk 'http://your-url-here'
Set to start on reboot
.bash_profile for starting X. Simply append the following line:
nano .bash_profile
[[ -z $DISPLAY && $XDG_VTNR -eq 1 ]] && startx -- -nocursor
Web service daemon
This will run the web service on startup.
Copy to /etc/init.d and make sure root owns it.
sudo chmod 755 websvc.sh
sudo chown root ~/websvc.sh
sudo cp ~/websvc.sh /etc/init.d
Make sure it runs at the right time
sudo update-rc.d websvc.sh defaults
Create the .sh damon file called websvc.sh
Reference
#!/bin/sh
### BEGIN INIT INFO
# Provides: websvc
# Required-Start: $remote_fs $syslog
# Required-Stop: $remote_fs $syslog
# Default-Start: 2 3 4 5
# Default-Stop: 0 1 6
# Short-Description: Put a short description of the service here
# Description: Put a long description of the service here
### END INIT INFO
# Change the next 3 lines to suit where you install your script and what you want to call it
DIR=/home/pi/bin/relay/relayweb
DAEMON=$DIR/relay_web_interface.py
DAEMON_NAME=piaccwebsvc
# Add any command line options for your daemon here
DAEMON_OPTS=""
# This next line determines what user the script runs as.
# Root generally not recommended but necessary if you are using the Raspberry Pi GPIO from Python.
DAEMON_USER=root
# The process ID of the script when it runs is stored here:
PIDFILE=/var/run/$DAEMON_NAME.pid
. /lib/lsb/init-functions
do_start () {
log_daemon_msg "Starting system $DAEMON_NAME daemon"
start-stop-daemon --start --background --pidfile $PIDFILE --make-pidfile --user $DAEMON_USER --chuid $DAEMON_USER --startas $DAEMON -- $DAEMON_OPTS
log_end_msg $?
}
do_stop () {
log_daemon_msg "Stopping system $DAEMON_NAME daemon"
start-stop-daemon --stop --pidfile $PIDFILE --retry 10
log_end_msg $?
}
case "$1" in
start|stop)
do_${1}
;;
restart|reload|force-reload)
do_stop
do_start
;;
status)
status_of_proc "$DAEMON_NAME" "$DAEMON" && exit 0 || exit $?
;;
*)
echo "Usage: /etc/init.d/$DAEMON_NAME {start|stop|restart|status}"
exit 1
;;
esac
exit 0
Hiding bootup text
In order to bypass displaying all of the text that spews out upon boot, I opted to turn off the messages. This is simple to do but changing the output in the /boot/cmdline.txt file. sudo nano /boot/cmdline.txt You should see a long boot up string that ends with fbcon=font:VGA8x8. Change this to map:2Plan B
So what I decided was that I would make it into a picture display for my daughter's shower.
I will attach a pi camera and at random intervals it will fire off a snapshot.
Since my camera broke I will need to pick up a new one.
What I find comical is that the pi itself only costs $5 US.
However, the camera is $25, the display is $45, the power 3A supply is $5-$10 and the micro SD is probably around $10..
All in all, it would make the price close to $90.00 US. That is a lot for a 3.5 picture frame that also takes pictures too.
I will set up an ftp upload server where I can send the pics as it takes them. This means I will have to enable a wifi hotspot on my phone.
I believe leaving them on the pi may use up too much space.
Though I could actually take pictures with my phone, I am hoping that the stealth shots may be interesting (or bad haha).
This also means that I will require an AC receptacle.
Snapshots
No party favor would be complete without the ability to take snapshots and then send them somewhere to be viewed. First attempt is using fswebcam. sudo apt-get install fswebcam Add pi to the video group sudo usermod -a -G video piThe shell script
DATE=$(date +"%Y-%m-%d_%H%M")
#Pi Camera via raspistill - Uncomment for pi Camera
#raspistill -o /home/pi/webcm/$DATE.png --annotate 12
#USB Camera via fswebcam - USB (Change image size to match your image size or file size preference. The bigger the image, the bigger the file)
fswebcam -r 1920x1080 --no-banner /home/pi/webcm/$DATE.png
#you will have to change the ftp host,username,password settings to match yours.
curl -T /home/pi/webcm/$DATE.png ftp://YOURFTPServerURL/webcam/$DATE.png --user FTPUsername:FTPUserPassword
Make sure to make the script executable
chmod 755 picup.sh
Then run ./picup.sh to fire it all off.
On the special event cam above, I will set it to fire off using crontab-e.
Creating FTP
If you have a hosting site, you can usually create an FTP account with access only to a specific directory. FTP in and of itself is very insecure so you probably want to use a different transfer protocol. Because this is for testing only, I am opting to use FTP.- Log in to post comments